Pricing and availability click here.

We call them steamroller fenders thanks to their size and shape--they're 12" wide, 30" in diameter, with a 4" overhang. They're bigger than you want them. These photos are courtesy of Chet Burdett, who runs LocostUSA.com and drives this scratch built Miata powered car.

Since Chet runs some serious racing rubber and a wide track on a narrow car, he runs these fenders full width. He trimmed an eyepleasing angle to the front and rear edges and trimmed the overhang to what looks like 2, maybe 2-1/2 inches.

Fitting and Installation

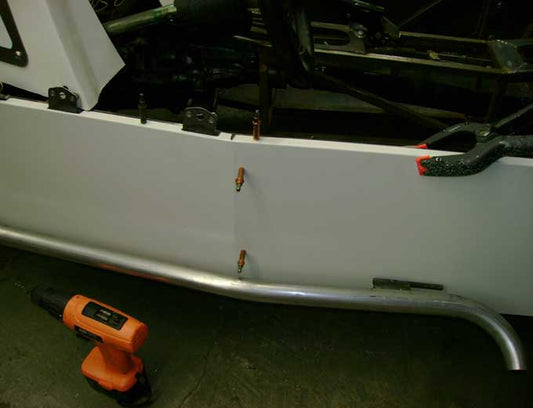
Here's what they look like out of the box. Normally you would fit all the body panelling before fitting the fenders, and mount the wheels and tires so you know just how wide you want them; these photos are just to show you what you'll be getting into.

I don't recommend using masking tape as a trim line, either, but it shows up clearly in the photos. Use a felt pen, and trim with a body saw or a saber saw with a fine metal-cutting blade. You can trim it by hand with a hacksaw blade, if you've got all day.

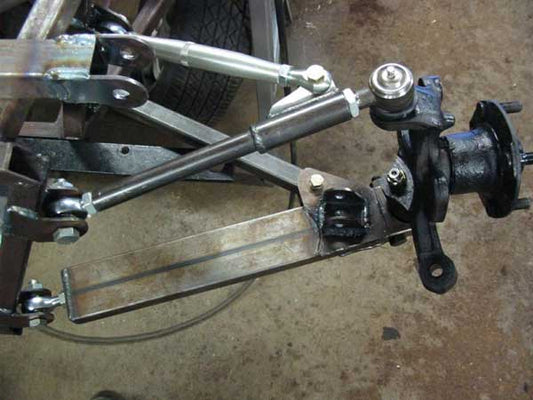
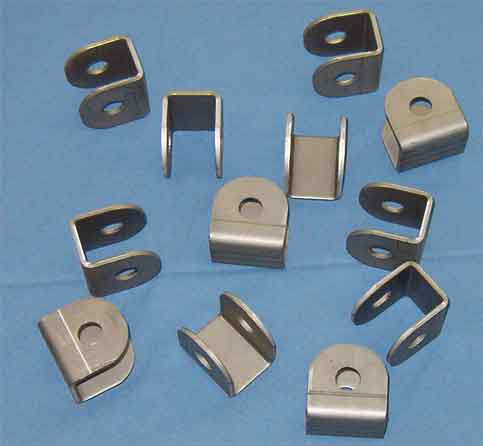
The slick trick to these fenders is the flange. Typically, fiberglass fenders are made with the mounting flange as part of the fender--which is fine if there's a fender available in exactly the width you want, and you don't mind replacing a complete fender assembly if you hit a cone. On ours, you attach the flange to your car with...
(This is a good place to point out a benefit to the steamroller's round profile. many locost fenders sweep back in the back, into the bend of the lower rear chassis tube. When they do, they leave a gap between the body and the fender. I don't like that look myself, so our fenders come forward a bit at the back, just forward of that bent tube, for a flush fit. And now, back to the instructions.)
...attach the flange to your car with bolts, rivets, or even the plastic body panel hardware from your local auto parts house. Trim the bottom ends of the flange to fit the bottom of your chassis.

After the flange is mounted, you can slip the fender over the flange and flush to the body. Then affix the fender to the flange (rivets, bolts, hardware of choice...or if you want an invisible fit you can bond the fender to the flange with fiberglass and resin, or even epoxy glue) and you're done.

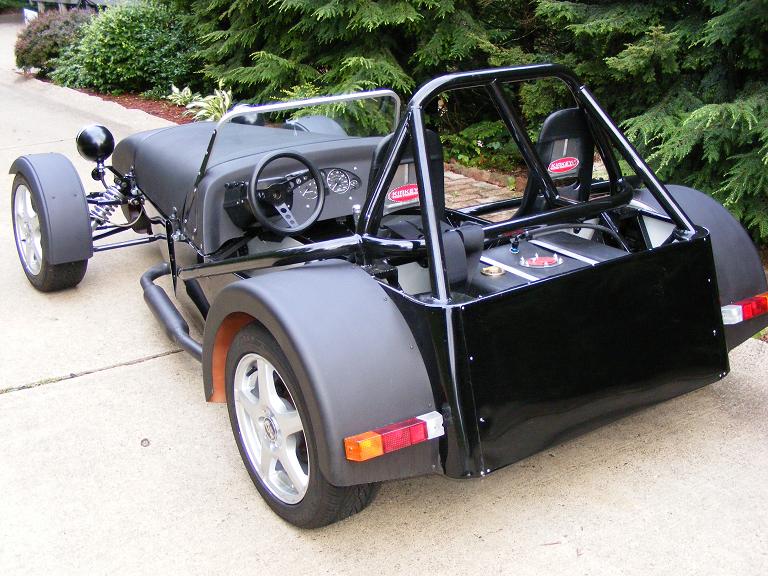
Here's Chet's car Augist '08, painted menacing black, with street wheels and tires. His taillights are kinda cool; they're off a fork lift.
By the way, for you autocrossers, the right and left fenders are symmetrical (unless you choose to trim them otherwise) so you'll only need one spare when you go to the Nats